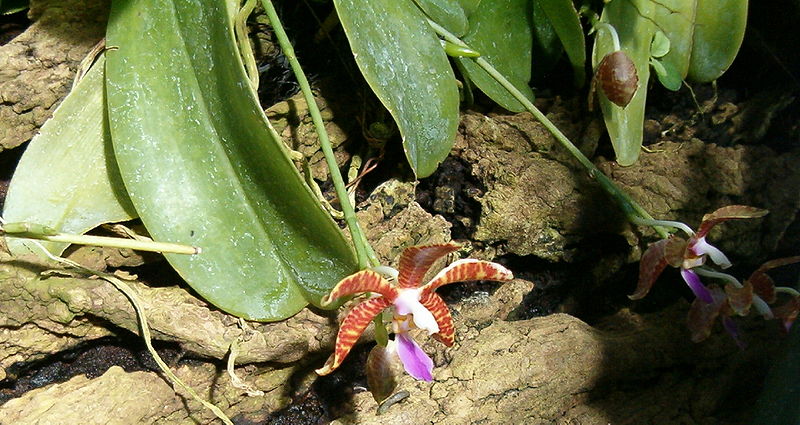
Phalaenopsis lueddemanniana orchid in bloom image by BotBln:commons.wikimedia.org
Overview
Orchid pruning should be carried out in accordance with the orchid's natural processes in order to prevent shock and damage to the plant. Delicate and spare in both foliage and bloom, orchids require infrequent grooming. Pruning orchids calls for sterile sharp blades and a minimally invasive technique. What may appear to be dead and dying to your eyes may in fact be live tissue that is still feeding the orchid in some way as it fades, a process botanists call translocation. The rule is to prune orchids judiciously and infrequently.
Remove damaged, diseased or dying orchid leaves only after they have withered, yellowed and gone limp. Allowing the fleshy leaves to die back slowly gives the plant time to transfer its stored nutrients and energy back into the plant roots. When the leaf is ready to be removed, you will be able to lift it off of the stem with only the very slightest pulling motion and it will come away from the stem cleanly.
Step 2
Cut down the flower stem or spike from your orchid when it looses it natural color and becomes brown, shriveled and crispy dry in texture. While this may mar the look of the orchid as a houseplant for a few weeks, it can mean all the difference in getting your orchid to bloom again next year. Flower spikes should be cut down at the base of the plant where the stem emerges between the leaves. Sharp sterile scissors are best for this.
Step 3
Prune or trim orchid plant roots conservatively and only when they lose their volume and become flat, desiccated, shriveled and brown. Use a fresh sharp razor blade or a sterilized pair of sharp scissors to cut through the root cleanly. Cut away in small sections and stop immediately if you see live tissue inside the root. Water well with tepid water after root pruning to reduce shock.
No comments:
Post a Comment